I purchased a big box of Williams boards at one of the arcade auctions and found a ton of goodies in there. Among them were a few Stargate CPU boards (for Stargate only) and one badly abused Stargate ROM board. The ROM board is in dire need of attention. Here's a step-by-step process of the ressurection.
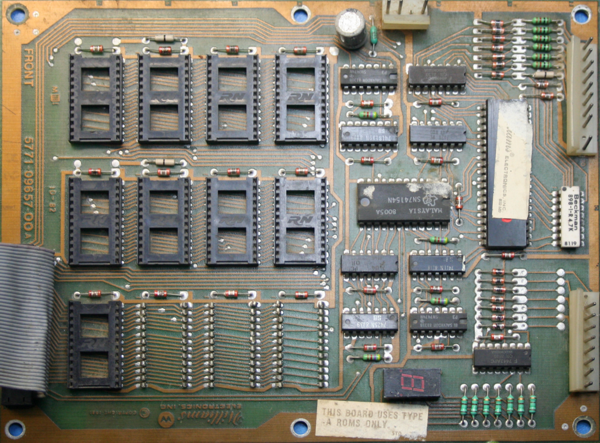
Here's what the ROM board looked like when I pulled it out of the box. At first inspection, the ribbon cable was shot and three of the ROM sockets were missing the housings. Once of the small caps was broken and the connectors were severely corroded. So I stripped the board down of everything I was going to replace.
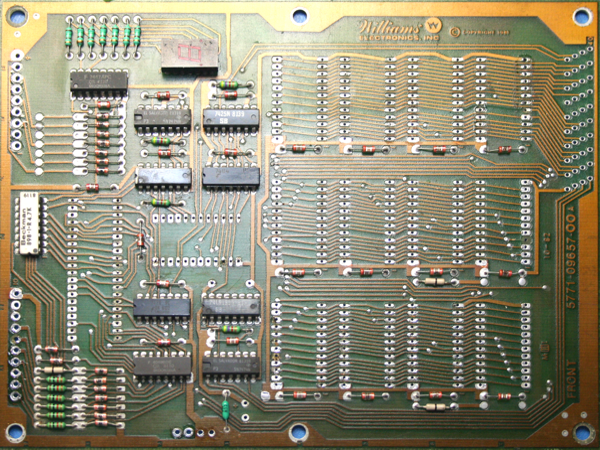
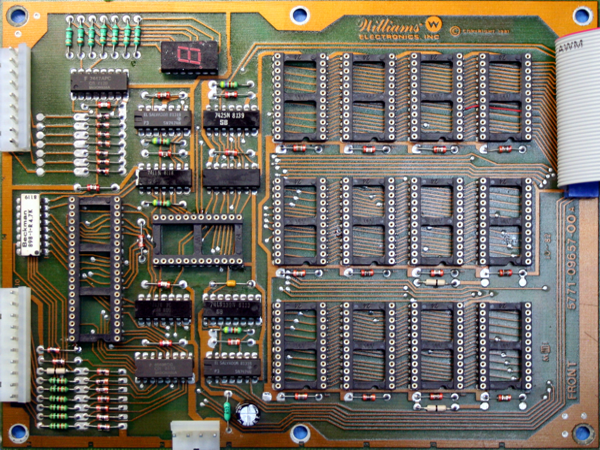
Here's the ROM board with all the parts I had planned on replacing removed. As any of you with a sharp eye will realize, there are some missing pads and traces. I was EXTREMELY careful when I started desoldering on this board and I have done a hundred of these over the years. Remember, this board is thirty-eight years old! It is older than most of you that are reading this. You always run the risk of lifting a solder/trace pad when you remove chips/caps/and sockets...it comes with the trade. Over the years I have rebuilt many boards that I never lifted one pad off of. Then there are boards like this one that I lifted 20 pads. But never fear, all of this can (and will) be repaired.
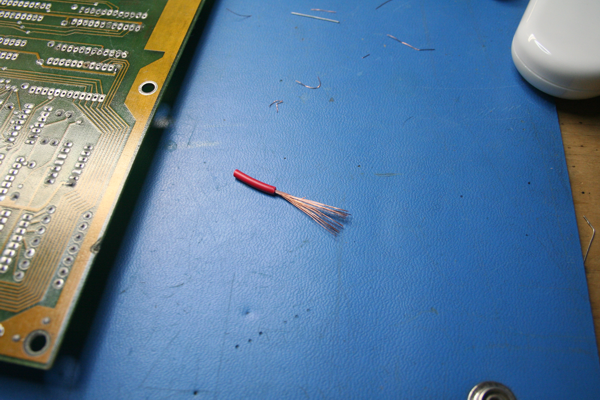
For those that do not know, a pad is the silver area around a hole where a pin of a component is inserted. Most of the time, these pads are tied to traces that lead all over the board. The pad is the area where the solder is adhered to. There are MANY ways to fix this problem. I will show you one method that I found works 100% of the time. Find yourself a piece of 12 AWG stranded hookup wire and snip off a couple of inches. Remove half off the insulating jacket from the wire. This will expose the strands of wire. You don't necessarily have to use 12 AWG, but you shouldn't use much smaller because the smaller AWG you use, the smaller the diameter the individual strands will be. On the other hand you don't want to use too big of a diameter stranded wire. If you do, you run the risk of never getting the leg of the component back in the hole. 12 AWG is just my personal preference.
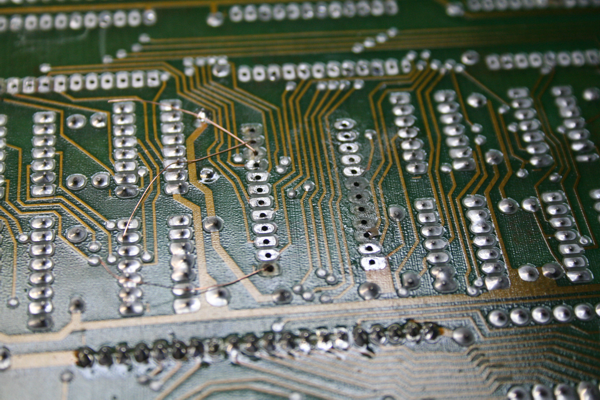
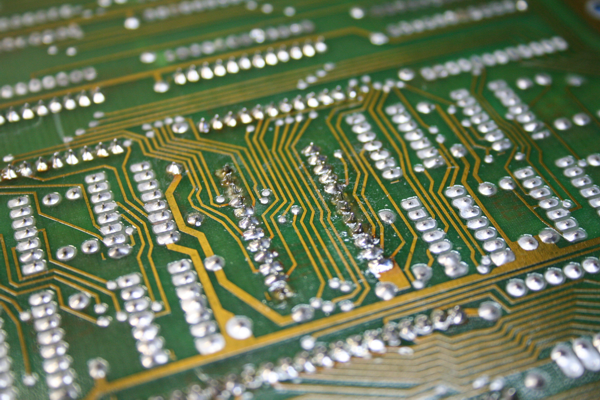
Now pull out one single strand of wire and insert it into the hole where you lifted a solder pad. In the above picture, you'll notice that I lifted nine pads. You'll want to insert a single strand of wire in each of these holes and bend in the same direction on both sides (so it won't fall out when you pick up the board).
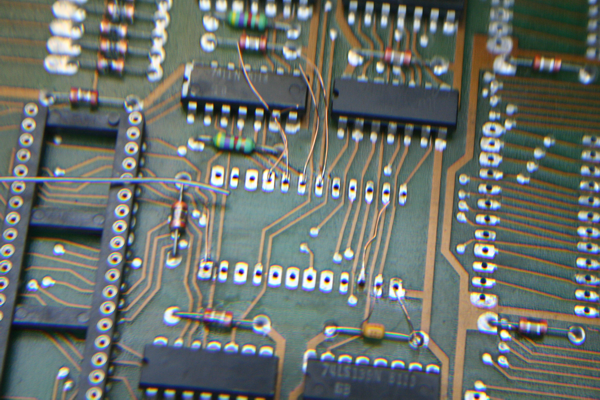
(I apologize for the blurriness). Next you will want to attach one side of the wire to the side of the board where at least one pad is. Apply a VERY small amount of solder to each surviving pad and adhere the wire to it. You only need to use as little solder as you possibly can. If you use too much solder in this process the component will not seat correctly.
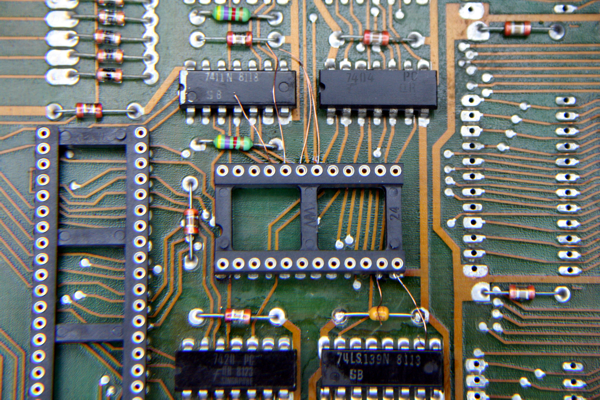
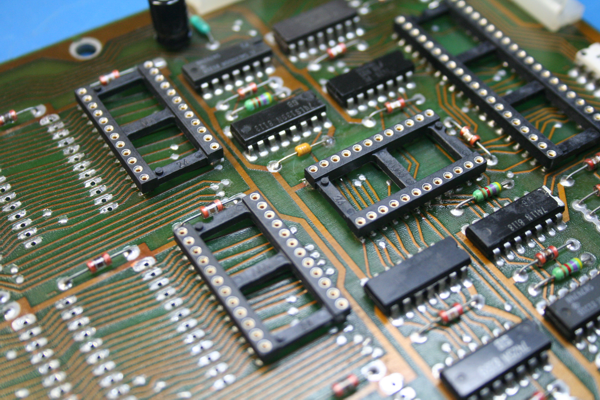
Once you have all the strands attached to the surviving pads, insert the component to the board. Make sure you orient the component in the correct direction. Here in this example I've inserted a 24-pin socket (two rows of twelve) and the strands of wire (that I attached in the previous step) are protruding from their respective holes. Use some painters tape and tape the component down (so it won't fall out) and flip the board over for soldering.
You don't have to do this next step but I like to just to guarantee the connections are made. I took a pair of tweezers and wrapped each individual strand of wire around its respective post. This ensures the connection. Next solder each pin of the component in place and snip off any excess ends of the stranded wires from both sides of the board (after the solder is applied).
One of the most important steps in this process is to use a Digital Multi Meter (DMM) and continuity check each pin in the socket to its destination to make sure all the connections are made. This step is critical. I do it for each component I replace. Nothing is more frustrating than to get a board put all back together only to find out one of the traces did not make a connection.
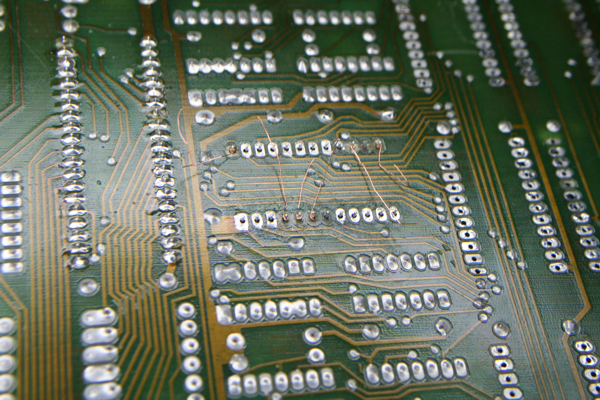
Here is the board with the solder applied and all strands secured to their respective connection points.
I continuity-checked each pin of every socket to ensure every connection is 100%. It takes time, but well worth it in the end.
All new sockets and about 20 repaired traces/pads.
I've been looking at alternatives to the Williams Lithium battery upgrade for CMOS RAM (bookkeeping information) on all my Williams boards. The problem is the AA batteries leak over time, mainly because they are forgotten about. I've never been a big fan of the CR2023 Lithium upgrade. The battery simply doesn't last long enough. So I think I found a solid alternative.
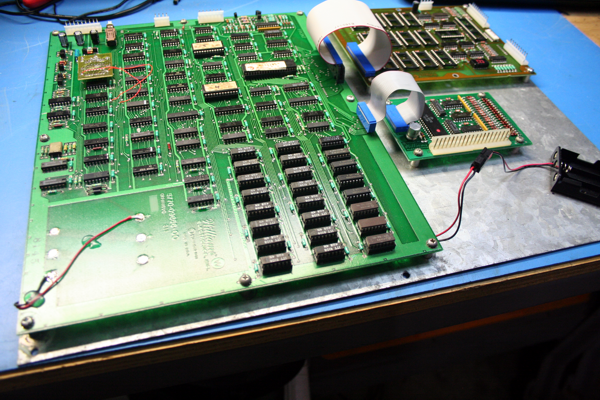
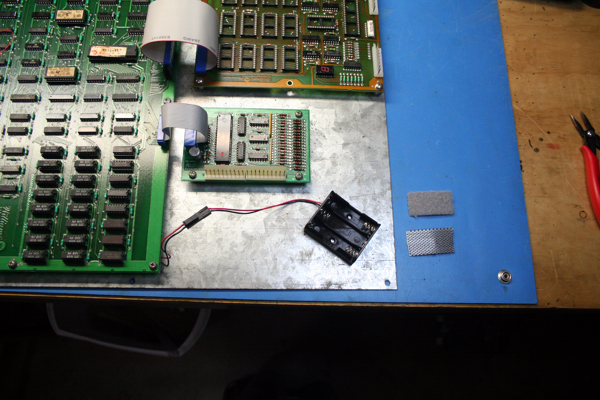
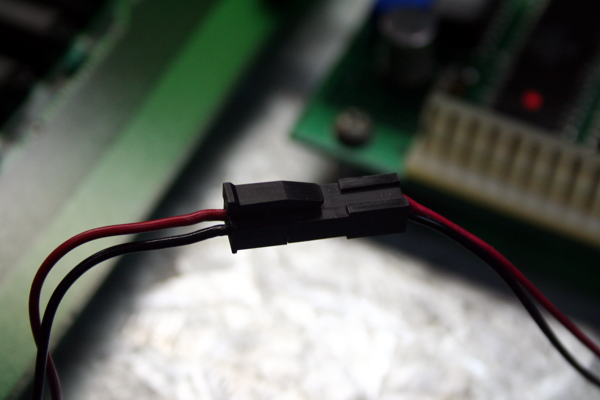
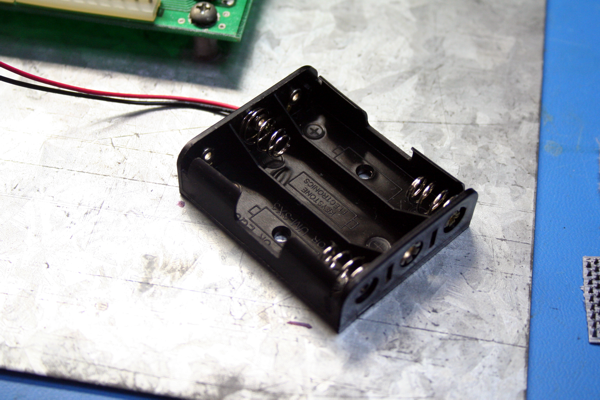
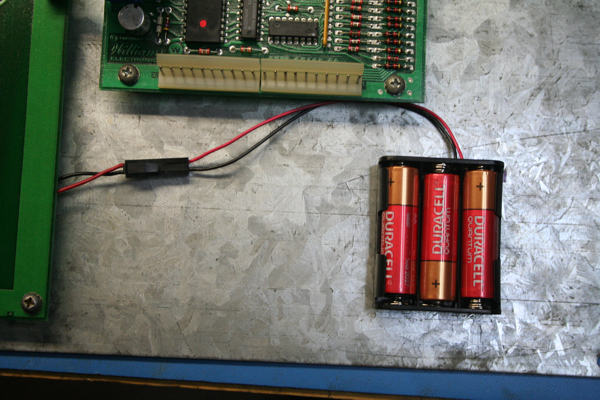
I picked up these little TE connectors and a AA battery holder (plastic) and mounted it off the CPU board. I think this location will be perfect. I used 20 AWG stranded hook-up wire.
These connectors allow me to disconnect the battery pack from the CPU board in the event I have to remove the board.
And I like these AA plastic battery holders. These won't corrode if the AA batteries leak.
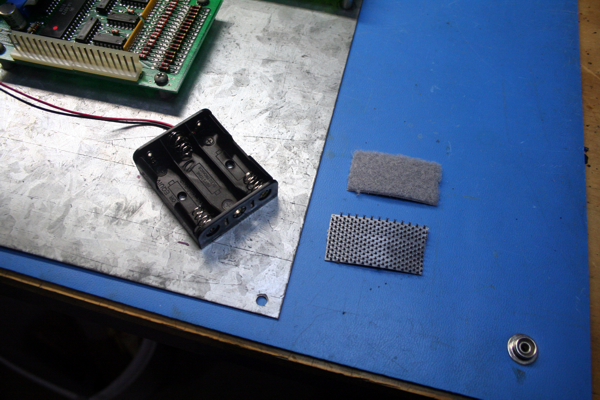
I picked up some industrial strength Velcro to attach the battery holder to the metal pcb plate.
I personally think this is the perfect solution, relocate the batteries off the board completely. No more corrosion. Here's a list of parts in case you want to replicate this. I picked all this up from Mouser, except for the Velcro which I bought from Amazon.
Velcro Extreme Outdoor - 10ft x 1"
AA Battery Holder - Part Number 534-2465
Plug Single F. H. 2P - Part Number 571-14450492
Receptacle Single Row 2P - Part Number 571-14450222
Socket 20-24 AWG - Part Number 571-1-794610-2
Pin 20-24 AWG - Part Number 571-1-794612-2
I'll continue to update this page as I make progress on the restore...keep checking back.


